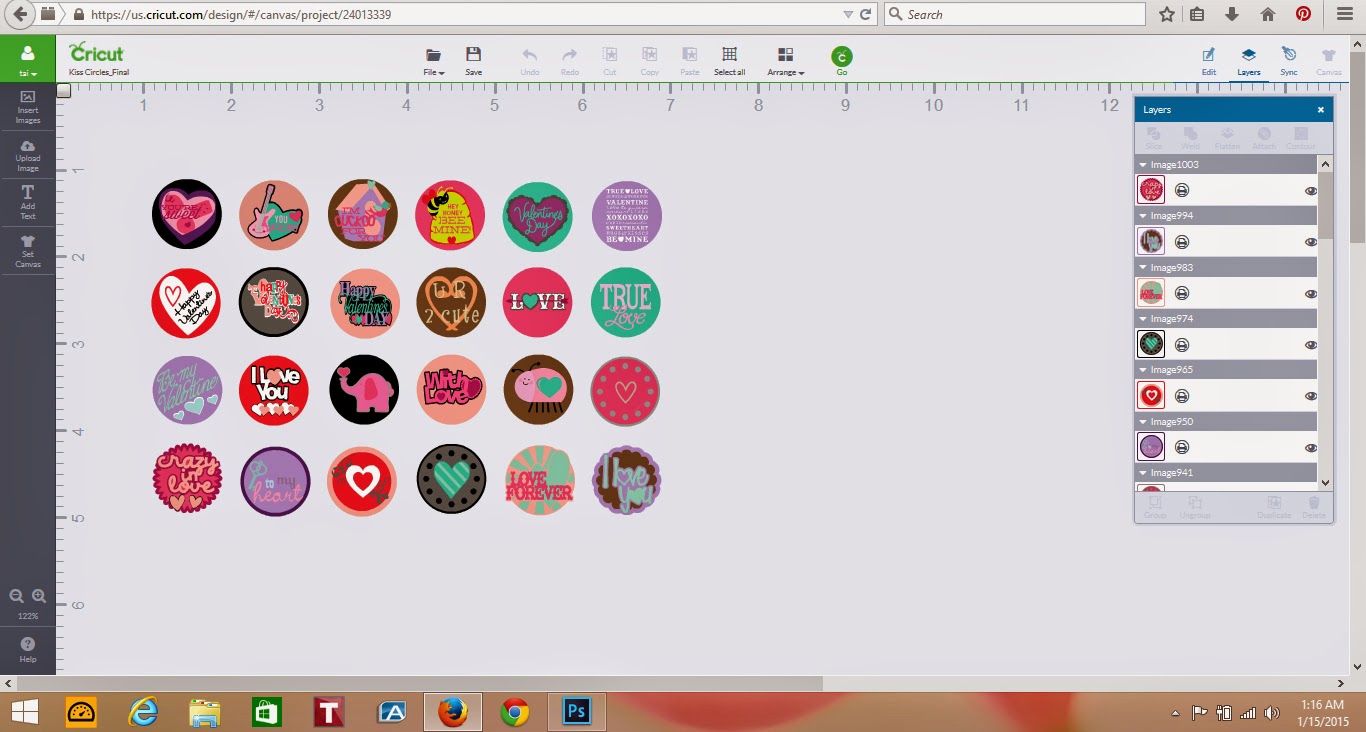
I've been on vacation from work this week so I've been spending a good bit of my time with my children and getting things done around the house that have lay uncomplete for so long. However, I have found a bit of time (mostly late at night after the kids are asleep) to play with my Cricut Explore and Design Space. I spent way too much time (until about 3 a.m.) last night creating Hershey Kiss circles (0.75" circles) in a Valentine's theme to Print 'N Cut with my Explore. I found that it was lengthy and the more circles I added, the more Design Space lagged. I created 25- 3/4" circles on one canvas and will not do that again. It took between 30-45 seconds for each button I pushed after I had about 8 circles designed. However, all is not lost! They turned out super SWEET! I'm currently working on that tutorial and hope to have it up in the next day or two. In the photo below, you can find a PREVIEW of the file or click the link below the photo if you just want to go ahead and use my design. I'll forewarn you, you would almost have to have the subscription (or own a slew of cartridges) to be able to use the design. If you own a majority, simply hide the images you don't own before pressing GO!

Finally let's get on to the task at hand...
Paisley Doll Shaped Card DS Tutorial
I found this project to be fairly simple if you have a good understanding of Design Space. I'd say it'd also be fairly simple to create shaped cards using just about any image with a shadow layer by following these steps:
1. Open Design Space, Sign in, and create a new project. If you prefer to work with a canvas, you could do so at this point. I usually just design on blank space when creating cards and such.
2. Click Insert Image, search for your image and be sure it has a shadow layer (I used a doll from the Paisley Cartridge #M3A1DD), when you've found one you'd like to use, insert it to your canvas.
3. You will then need to ungroup and hide all layers except your shadow layer. Duplicate the shadow layer and move the duplicated layer to the left of the image, just joining the layer slightly below it. When you have the images joined slightly, select both images (drag the box over both layers) and choose WELD from your layer panel.
4. Go to Insert Image again and search for line (a score line should be the first choice). Insert the score line and center it between each side of the card. It is very important that this is lined up correctly, otherwise your fold will be off centered. Line up your score line and then select both layers again (the card base and score line) and select ATTACH from your layers panel.
5. Un-hide all the other layers and be sure they line up. Collect your paper choices and select GO! when you're ready to cut. Cut each layer on the papers of your choice and assemble as shown on your work area.
6. When assembled, fold your card on the score line, add the doll to the base and collect your glue pen, tweezers, and rhinestones. Place one glue dot at a time and adhere your rhinestones using alternating colors as shown in the photo. Continue to place your rhinestones until all six are glued down. Let dry for a half hour or so before adding to your envelope choice.


No comments:
Post a Comment